quinta-feira, 29 de maio de 2014

DIY Chevron Clutch


Lista de materiais:

- napa ou cabedal
- pincel de esponja
- fecho
- stencil
- tinta de tecido
- fita cola
- linha
- agulha

---


Materials list:

- leather
- sponge brush
- zipper
- stencil
- fabric paint
- tape
- thread
- needle


Primeiro decidi o tamanho da clutch em função do tamanho do fecho! Desenhei na napa o formato da carteira e recortei dois pedaços iguais.

---

First, I decided to make the size of the clutch based on the size of the zipper! I drew the shape of the clutch on leather and cut two equal pieces.


Coloquei o stencil no sítio e segurei com fita cola de papel. Fui aplicando a tinta com um pincel de esponja. 

---

I've put the stencil on place and holded it with tape. I was applying the paint with a sponge brush.


Como a tinta escorria em algumas partes, depois de seco apliquei fita cola de papel em cima do que já estava pintado e pintei de branco o resto.

---

As the ink dripped in some parts, after drying I applied tape on top of what was already painted and painted the rest in white.


Depois de pintado e seco, passei a ferro com um pano de algodão entre o ferro e a tinta! Apliquei o fecho e cozi à mão para mais tarde cozer à máquina. 

--- 

Once painted and dried, ironed with a cotton cloth between the iron and the ink! I applied the zipper and sewed by hand for later sew in the sewing machine.


Depois de acabada, a tinta agarrava todo o tipo de pêlos e colava. Decidi então passar uma camada de cola branca (que fica transparente depois de seca) e ficou muito melhor.

--- 

Once finished, the paint was grabbing all kinds of hairs and clung. I decided to pass a layer of white glue (which becomes transparent when dry) and it was so much better.
  

Este foi o resultado final! Espero que gostem :)

---

This was the final result! I hope you like :)


terça-feira, 27 de maio de 2014

Easy and Simple Makeup

Hoje trago um vídeo diferente! É o meu primeiro tutorial em vídeo de maquilhagem! Decidi começar com uma coisa simples e produtos simples e baratos. Espero que gostem!


---


Today I bring a different video! This is my first makeup tutorial video! I decided to start with something simple and with simple and cheap products. I hope you enjoy!


segunda-feira, 26 de maio de 2014

DIY makeup brush holder

Hoje trago-vos um novo DIY! É um "suporte" para colocar os pincéis de maquiagem.

Materiais:
- copo ou recipiente vazio (de azeitonas, maionese,...)
- fita
- cola
- penas/ plumas


Espero que gostem!


---


Today I bring you a new DIY! It's a holder to put the makeup brushes.

Materials:

- glass or a mason jar
- strip or ribbon
- glue
- feathers


I hope you like!


sábado, 24 de maio de 2014

OOTD / Look do Dia 1#

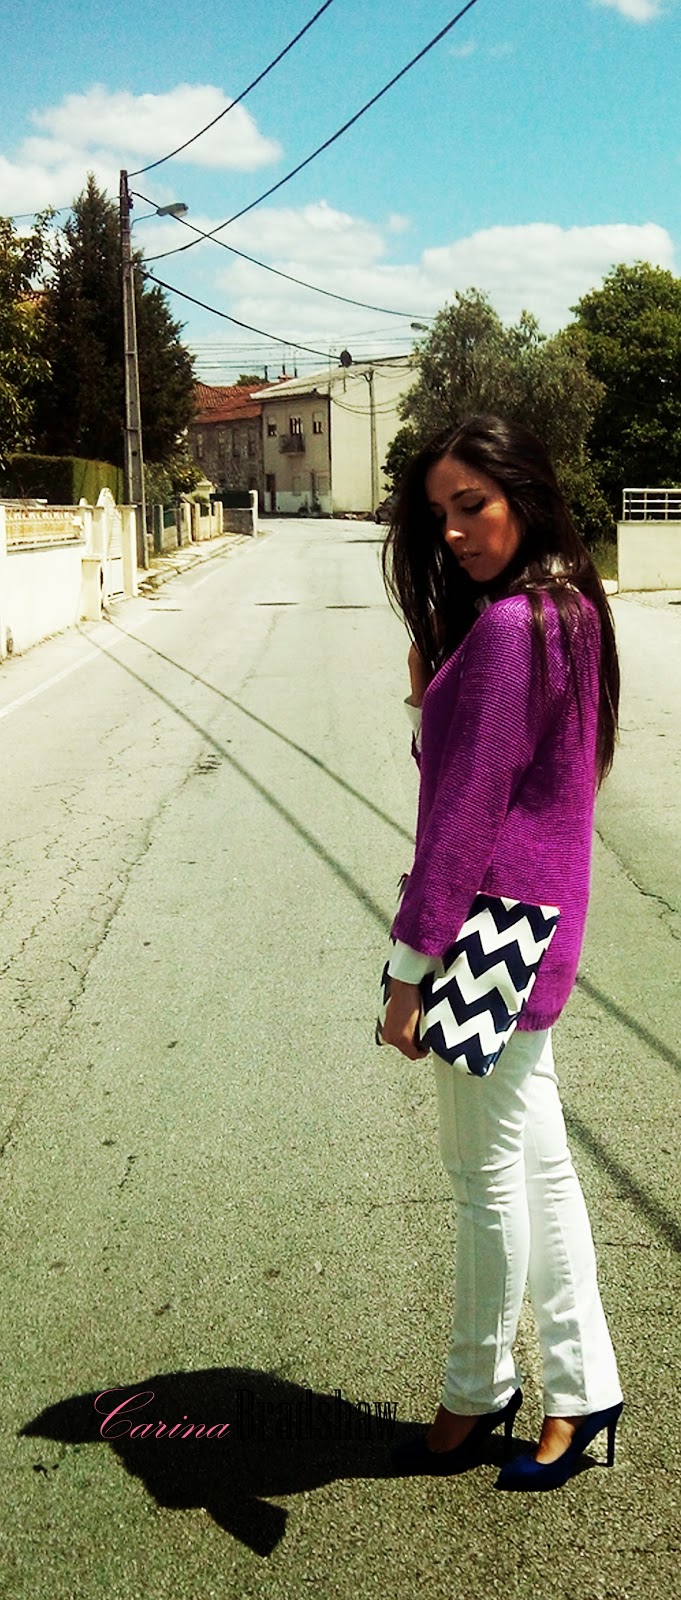
O primeiro look é um total white! Com uma camisola colorida, uns sapatos azuis e uma carteira DIY que irei mostrar noutro post!

--- 

The first outfit is a total white! With a colorfull shirt, blue shoes and a DIY clutch that I'll gonna show in another post!


DIY Stenciled Pinboard

Começamos o blog com um faça você mesmo! Decidi fazer um vídeo pois é muito mais fácil mostrar as várias etapas! O DIY é bastante fácil e mostra como transformar um simples quadro de cortiça em algo diferente pois, esses quadros são sempre iguais e assim fica a dica para ter um diferente em casa! O stencil fui eu que fiz anteriormente a partir de uma imagem mas há vários à venda tanto na internet como nas lojas que vendem artigos de artes decorativas.


Lista de materiais:
- 1 quadro de cortiça
- pincéis, pincéis de esponja e rolo
- stencil
- fita adesiva de papel
- tinta acrílica à escolha
- cotonetes
- luvas (opcional)

Espero que gostem do vídeo e que subscrevam se gostarem ;)


---


We're gonna start the blog with a DIY! I decided to make a video because it's easier to show the steps. The DIY is pretty easier and shows how to transform a simple pinboard in something different because this pinboards are always the same and here I live a tip to make it different to have at home. I made the stencil previously from an image but there are several stencils on the internet or a craft store.


Materials list:

- 1 pinboard
- brushes, sponge brushes and roller
- stencil
- tape
- acrylic paint
- swabs
- gloves (optional)


I hope you like the video and subcribe if you like ;)


The blog

O primeiro post é para explicar o porquê do nome do blog. Estava a pensar no nome e lembrei-me de uma cena do filme "Sexo e a cidade 2". Era a cena do casamento do Stanford onde a Carrie fala com ele acerca do António e depois coloca o seu chapéu e diz " Ora, a flor da lapela pode dizer "Preston". Mas o chapéu... diz "Bradshaw". Eu acho que a personagem da Sarah Jessica Parker é cheia de estilo e engraçada e adoro a série portanto foi assim que surgiu. Espero que gostem do blog e se quiserem sigam :)


---

The first post is to explain the name of the blog. I was thinking about the name and I remembered a scene from the movie "Sex and the city 2". It's the scene from the Stanford's wedding where Carrie talks to him about Anthony and after she puts the hat and says " Now, the boutonniere may say "Preston". But the hat... says "Bradshaw". I think that the character of Sarah Jessica Parker is stylish and funny and I love the serie so that's what came up. I hope you enjoy the blog and if you want follow me :)